Watercolours: where water meets dreams. A practical guide to falling in love with them.

Watercolours are one of the most fascinating and challenging techniques there are, as the ability to layer colours or lighten them depends very much on the amount of water used to dilute them.
In this post, I’ll try to explain what watercolours are, offer some tips on how to make your own, and show you how to use them in colouring books.
What are watercolours?
Much like acrylic paints, watercolours are a water-based medium in which the pigments are held together by a binder (honey or gum arabic).
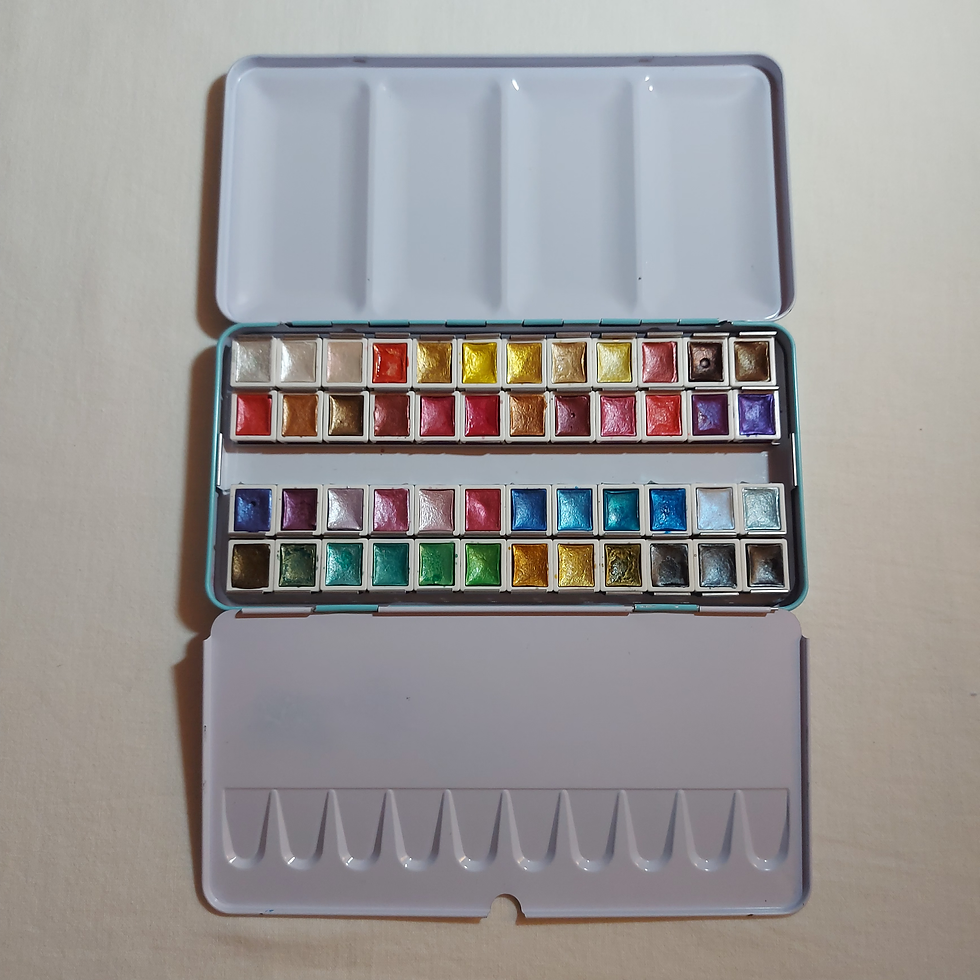
These pigments may be absorbent (standard watercolours) or offer special effects such as pearlescent, iridescent, glitter, metallic or colour-shifting.
In this case, we refer to pearlescent, iridescent, glitter and metallic watercolours, and instead of normal pigments, coloured powders based on mica are used (the same ones used, for example, in soaps or resin art). These mica-based pigments can be chameleon-like or simply have an iridescent effect.
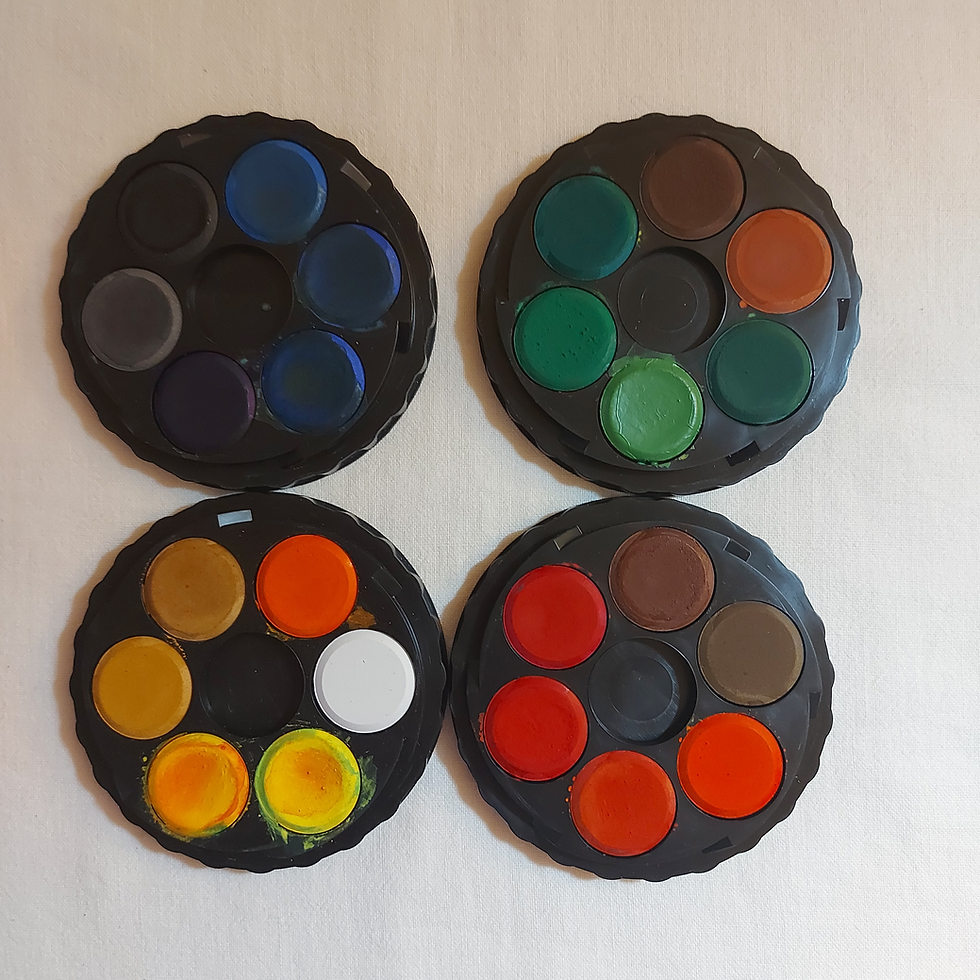
Watercolours intended for school use are often sold in palettes containing round pans and are low in pigment. Professional watercolours, on the other hand, are sold in pans or tubes (which can be bought individually) and are highly pigmented.
Key features
transparency, which gives the drawing a translucent effect and allows multiple colours to be layered, creating colour gradients
fluidity, that is, the ease with which the colour flows onto the paper
water sensitivity, in that even after drying, the colours can be reactivated with water. However, this sensitivity is not the same for all colours. In fact, there are pigments that are able to remain ‘fixed’ to the paper or surface to which they are applied (staining) even when a wet brush is passed over them again. This property, known as staining, is intrinsic to the pigment used and is indicated, in a similar way to the degree of opacity/transparency, on the paint tube by a triangle.
Solid triangle: staining
Half-filled triangle: semi-staining
Empty triangle: non-staining
Basic techniques
Wet-on-wet: the surface (the sheet) is moistened and then the paint is applied
Wet-on-dry: the paint is applied without first moistening the surface
Glazing: the paint is applied very thinly, almost transparent, to create subtle shades
Paper to use
In watercolour painting, where water plays a central role, the paper is of fundamental importance. For this technique, the paper must contain a cotton component, which absorbs the water used to dilute the paint, allowing the colours to remain clearly defined on the sheet.
Watercolour paper is usually thick (300g/m²) and the cotton content can vary from 25% to 100%. The higher the cotton content, the higher the price.
Is it possible to use watercolours in colouring books without the paint soaking through the paper?
Many people think that the paper in colouring books isn’t suitable for watercolours.
In fact, watercolours are also a medium which, with the right precautions and without using too much water, can produce effects in colouring books that are difficult to match with ordinary pencils or felt-tip pens.
The main measures are:
Protect the colouring pages by placing a sheet of card or greaseproof paper behind the page you wish to colour, to prevent the pages underneath from being damaged by moisture or paint
Apply a thin layer of transparent chalk to the page to be coloured to waterproof it before you start colouring
Apply the colour to the dry sheet with a slightly damp brush. Any excess water can be removed with a simple cloth.
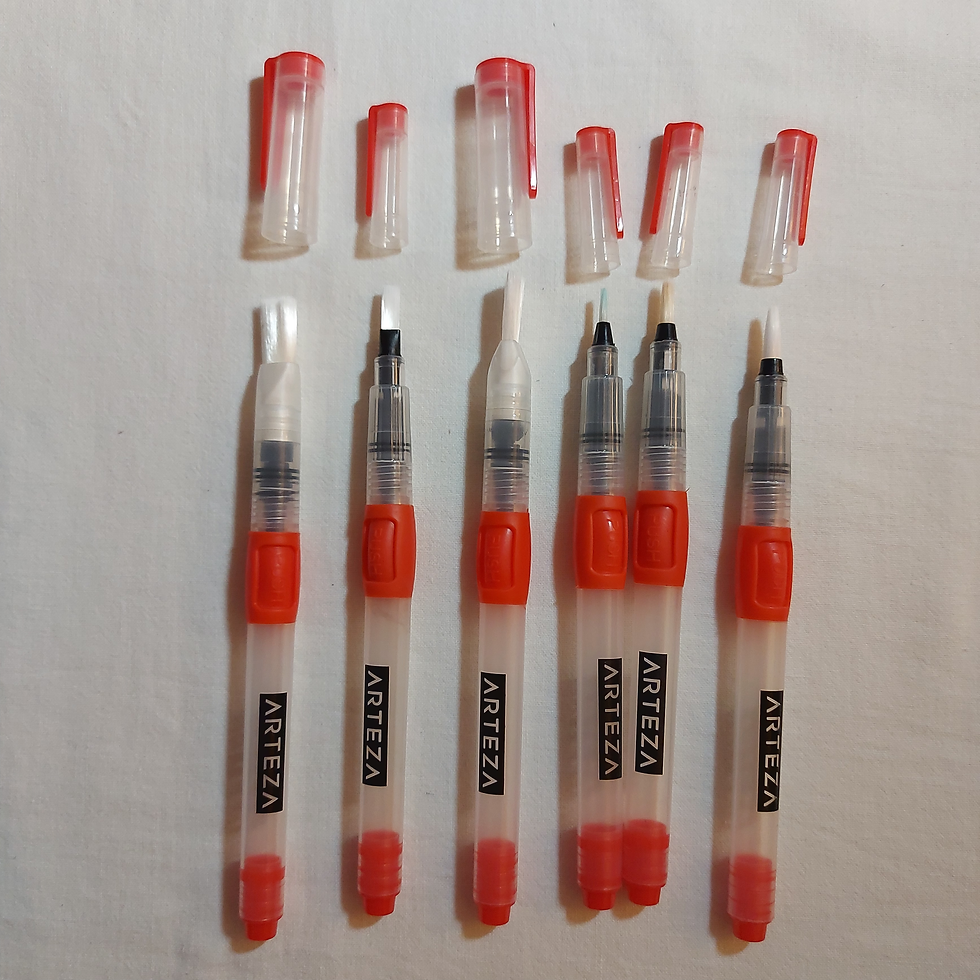
Use reservoir brushes (aqua brushes), which allow for greater control over the amount of water used.
Work in small areas to avoid over-wetting the paper
Opt for watercolour pencils, using them dry like normal coloured pencils for certain details before adding water to activate them
In my work, I mainly use watercolours (or water-soluble wax pastels)
as a very light base, onto which I then add details using coloured pencils in metallic or iridescent shades to create details on top of an alcohol-based marker base.
On a water-based marker base, there is a risk that the water might activate the ink in the marker itself, causing it to run like watercolour.
How to create your own watercolours using a watercolour binder and pigments
If you want to give free rein to your creativity and produce your own custom watercolour shades, there are several ways to go about it:
Starting with ready-to-use colours:
Mix standard colours with metallic colours
Mix metallic colours together
Mix MICA pigment powders with a ready-to-use watercolour binder (or honey, glycerine or gum arabic) to create new, personalised metallic or iridescent shades
In the latter case, the materials required are as follows:
MICA pigments and/or pigmented powders, chameleon pigments, other types of effect pigments
(ready-to-use) watercolour binder or arabic gum
water (better distilled water)
glass pestle for pigments (it has usually a round base)
smooth glass or Plexiglas surface for mixing the pigments
Creating customised watercolours using pigments and a ready-to-use binder:
Pour 1 teaspoon of pigment (a single colour or a mixture of pigments) onto the smooth surface.
Add half a teaspoon of water and dissolve the pigment, removing any lumps.
Add one teaspoon of binder to start with and stir.
Stir with the pestle for at least 5 minutes using slow, circular movements to allow the binder to incorporate the pigment.
Test the resulting colour on a sheet of paper and check the level of pigmentation: if the colour is transparent or the mixture is too sticky, you will need to increase the amount of pigment. In this case, add more pigment and repeat steps 1 to 4 until you achieve the desired result.
When storing the mixture in blocks, bear in mind that a small block takes around 30–40 days to dry. Once dry, the mixture will shrink in volume (by as much as 50 per cent).
And so we’ve come to the end of this overview of watercolours. If you enjoyed this post or found it useful, please let me know in the comments, give it a like and follow me on social media.
Thank you for reading.
Laura


Comments